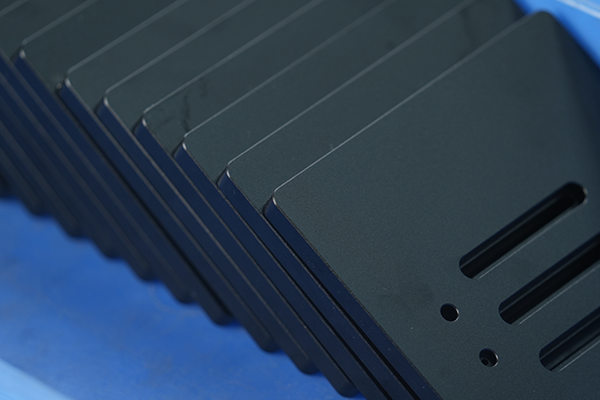
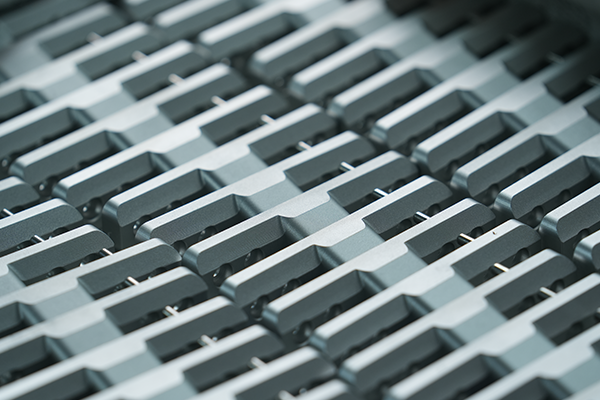
The wire cutting process transforms digital designs into flawless metal parts by using a fine, electrically charged wire to achieve intricate shapes, sharp edges and dimensional accuracy without physical contact.
Here’s a step-by-step breakdown:
Design and Programming
Every wire cutting project starts with a precise CAD design of the required component. This design is converted into a CNC-compatible program that defines the cutting path. Accuracy in this stage is critical because even a fraction of a millimeter can affect the final fit and function of the part.
Material Setup and Alignment
The selected workpiece is securely clamped onto the machine’s work table. The wire 0.1–0.3 mm in diameter is threaded through the starting hole or edge. Exact positioning ensures the cut begins at the right spot and follows the programmed path without deviation.
Cutting with Electrical Discharges
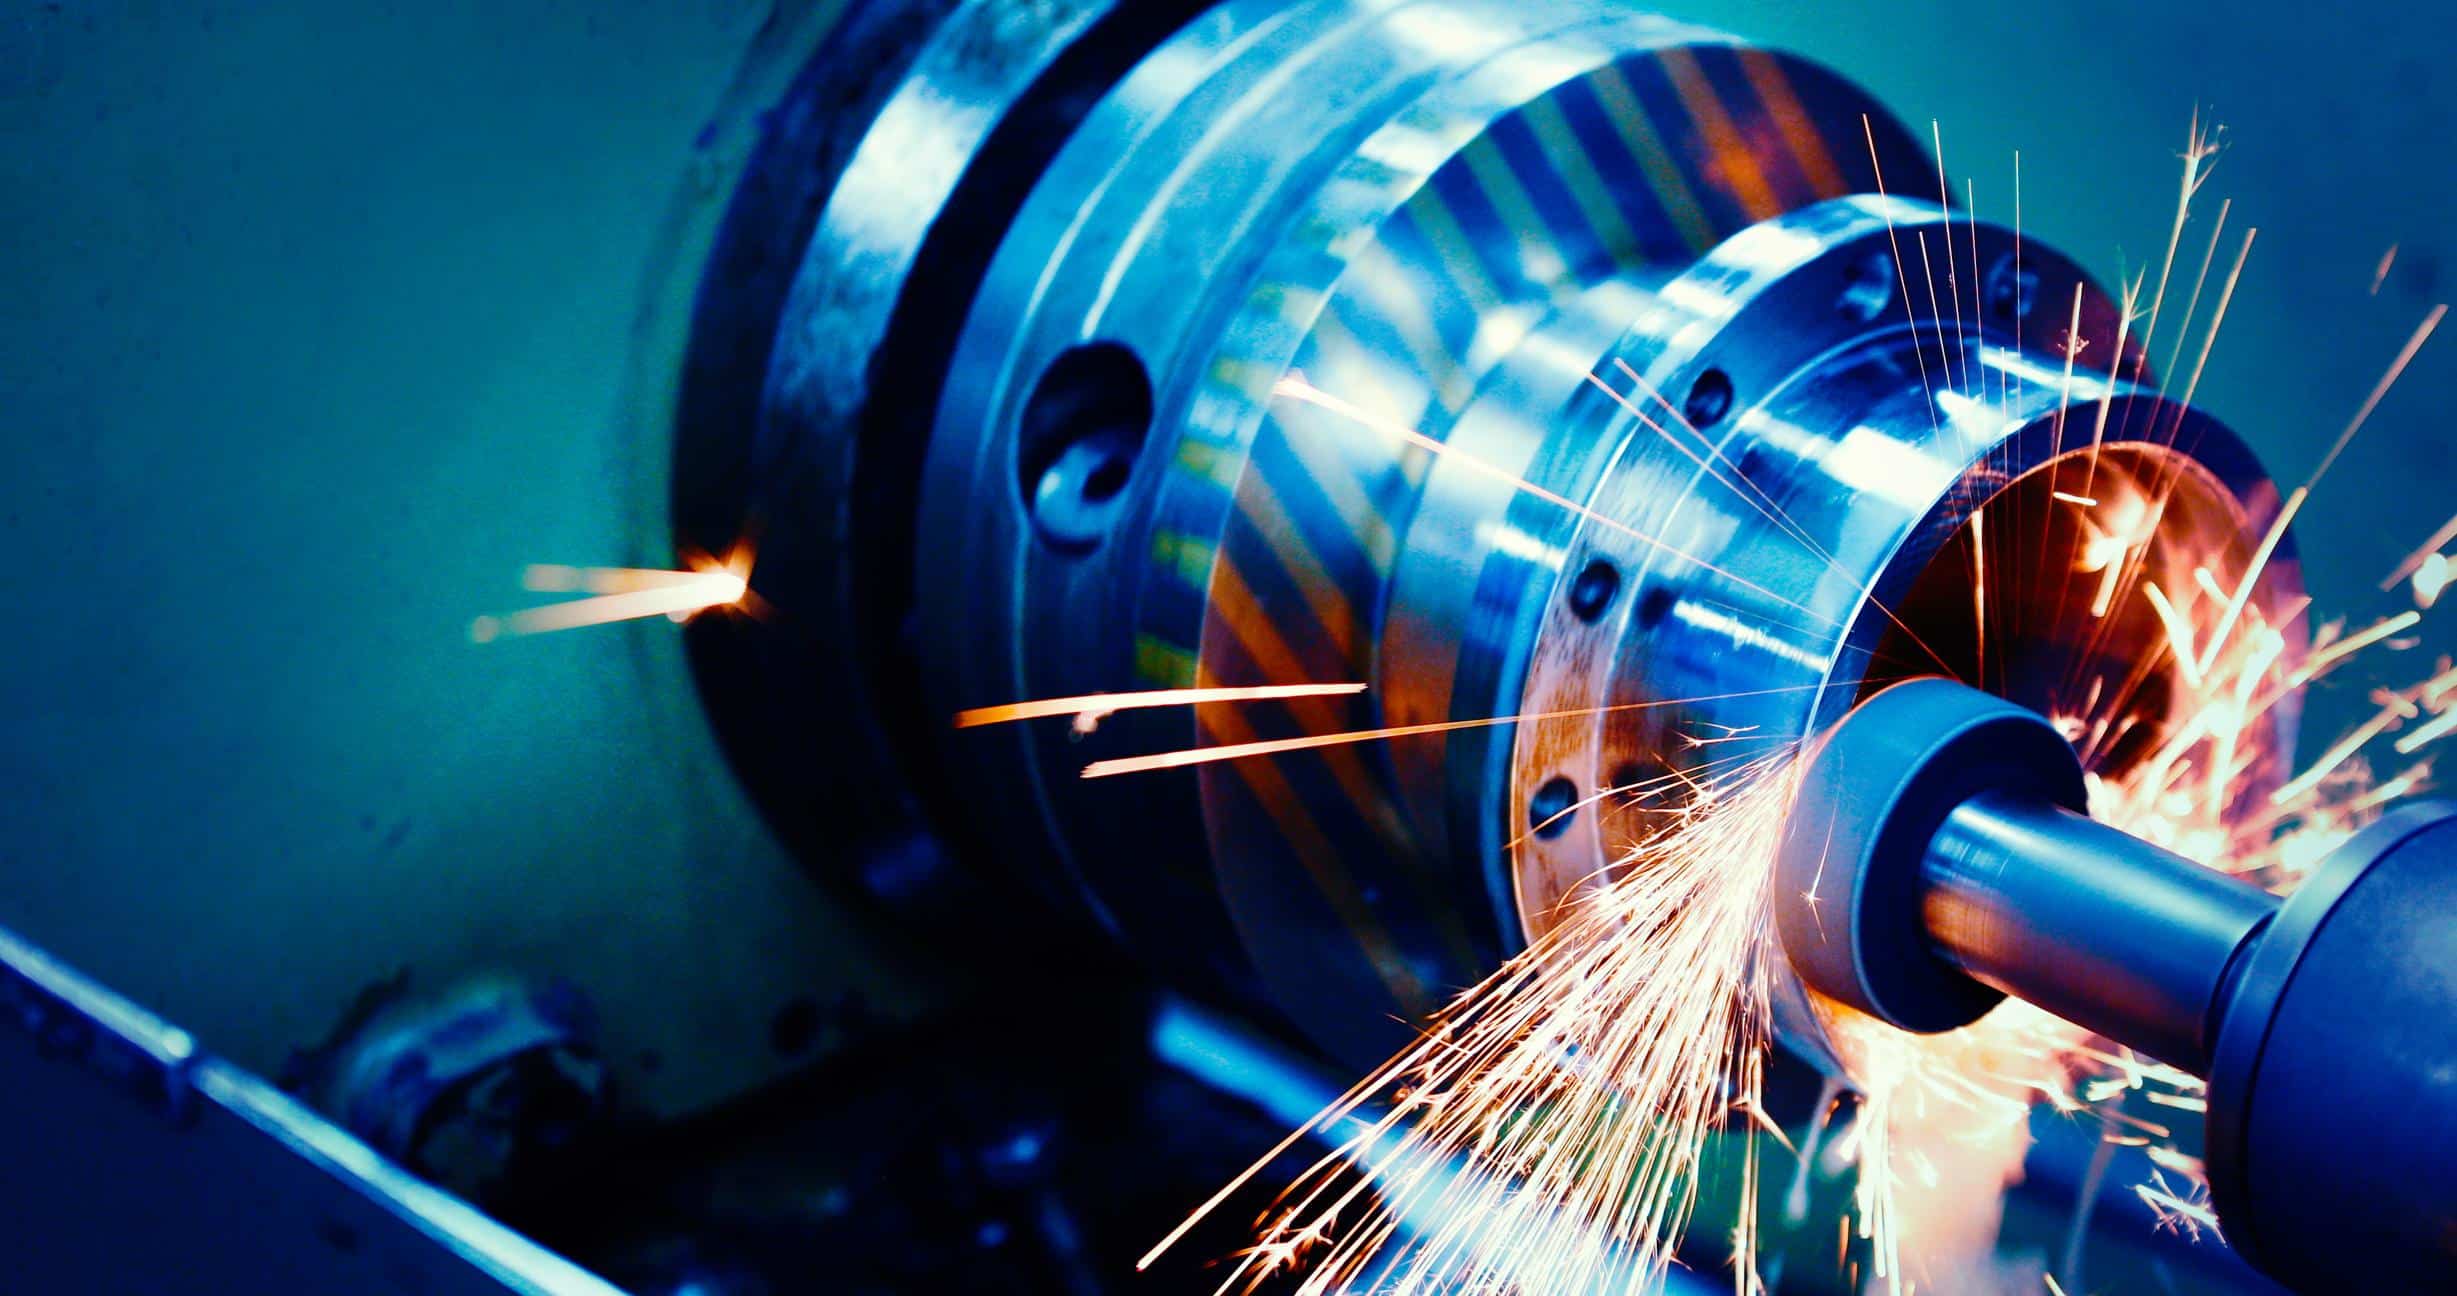
The wire passes through the workpiece, removing material using controlled electrical discharges rather than physical force. This method prevents distortion, even on thin or delicate parts. The process can achieve sharp corners, intricate curves, and detailed profiles that traditional cutting tools cannot match.
Continuous Wire Feeding and Cooling
To maintain accuracy, the wire is continuously fed and kept under consistent tension during the cut. At the same time, a dielectric fluid flushes away debris and cools the cutting area. This keeps the process stable, prevents overheating, and ensures the surface finish remains smooth and free of burrs.
Final Finishing and Inspection
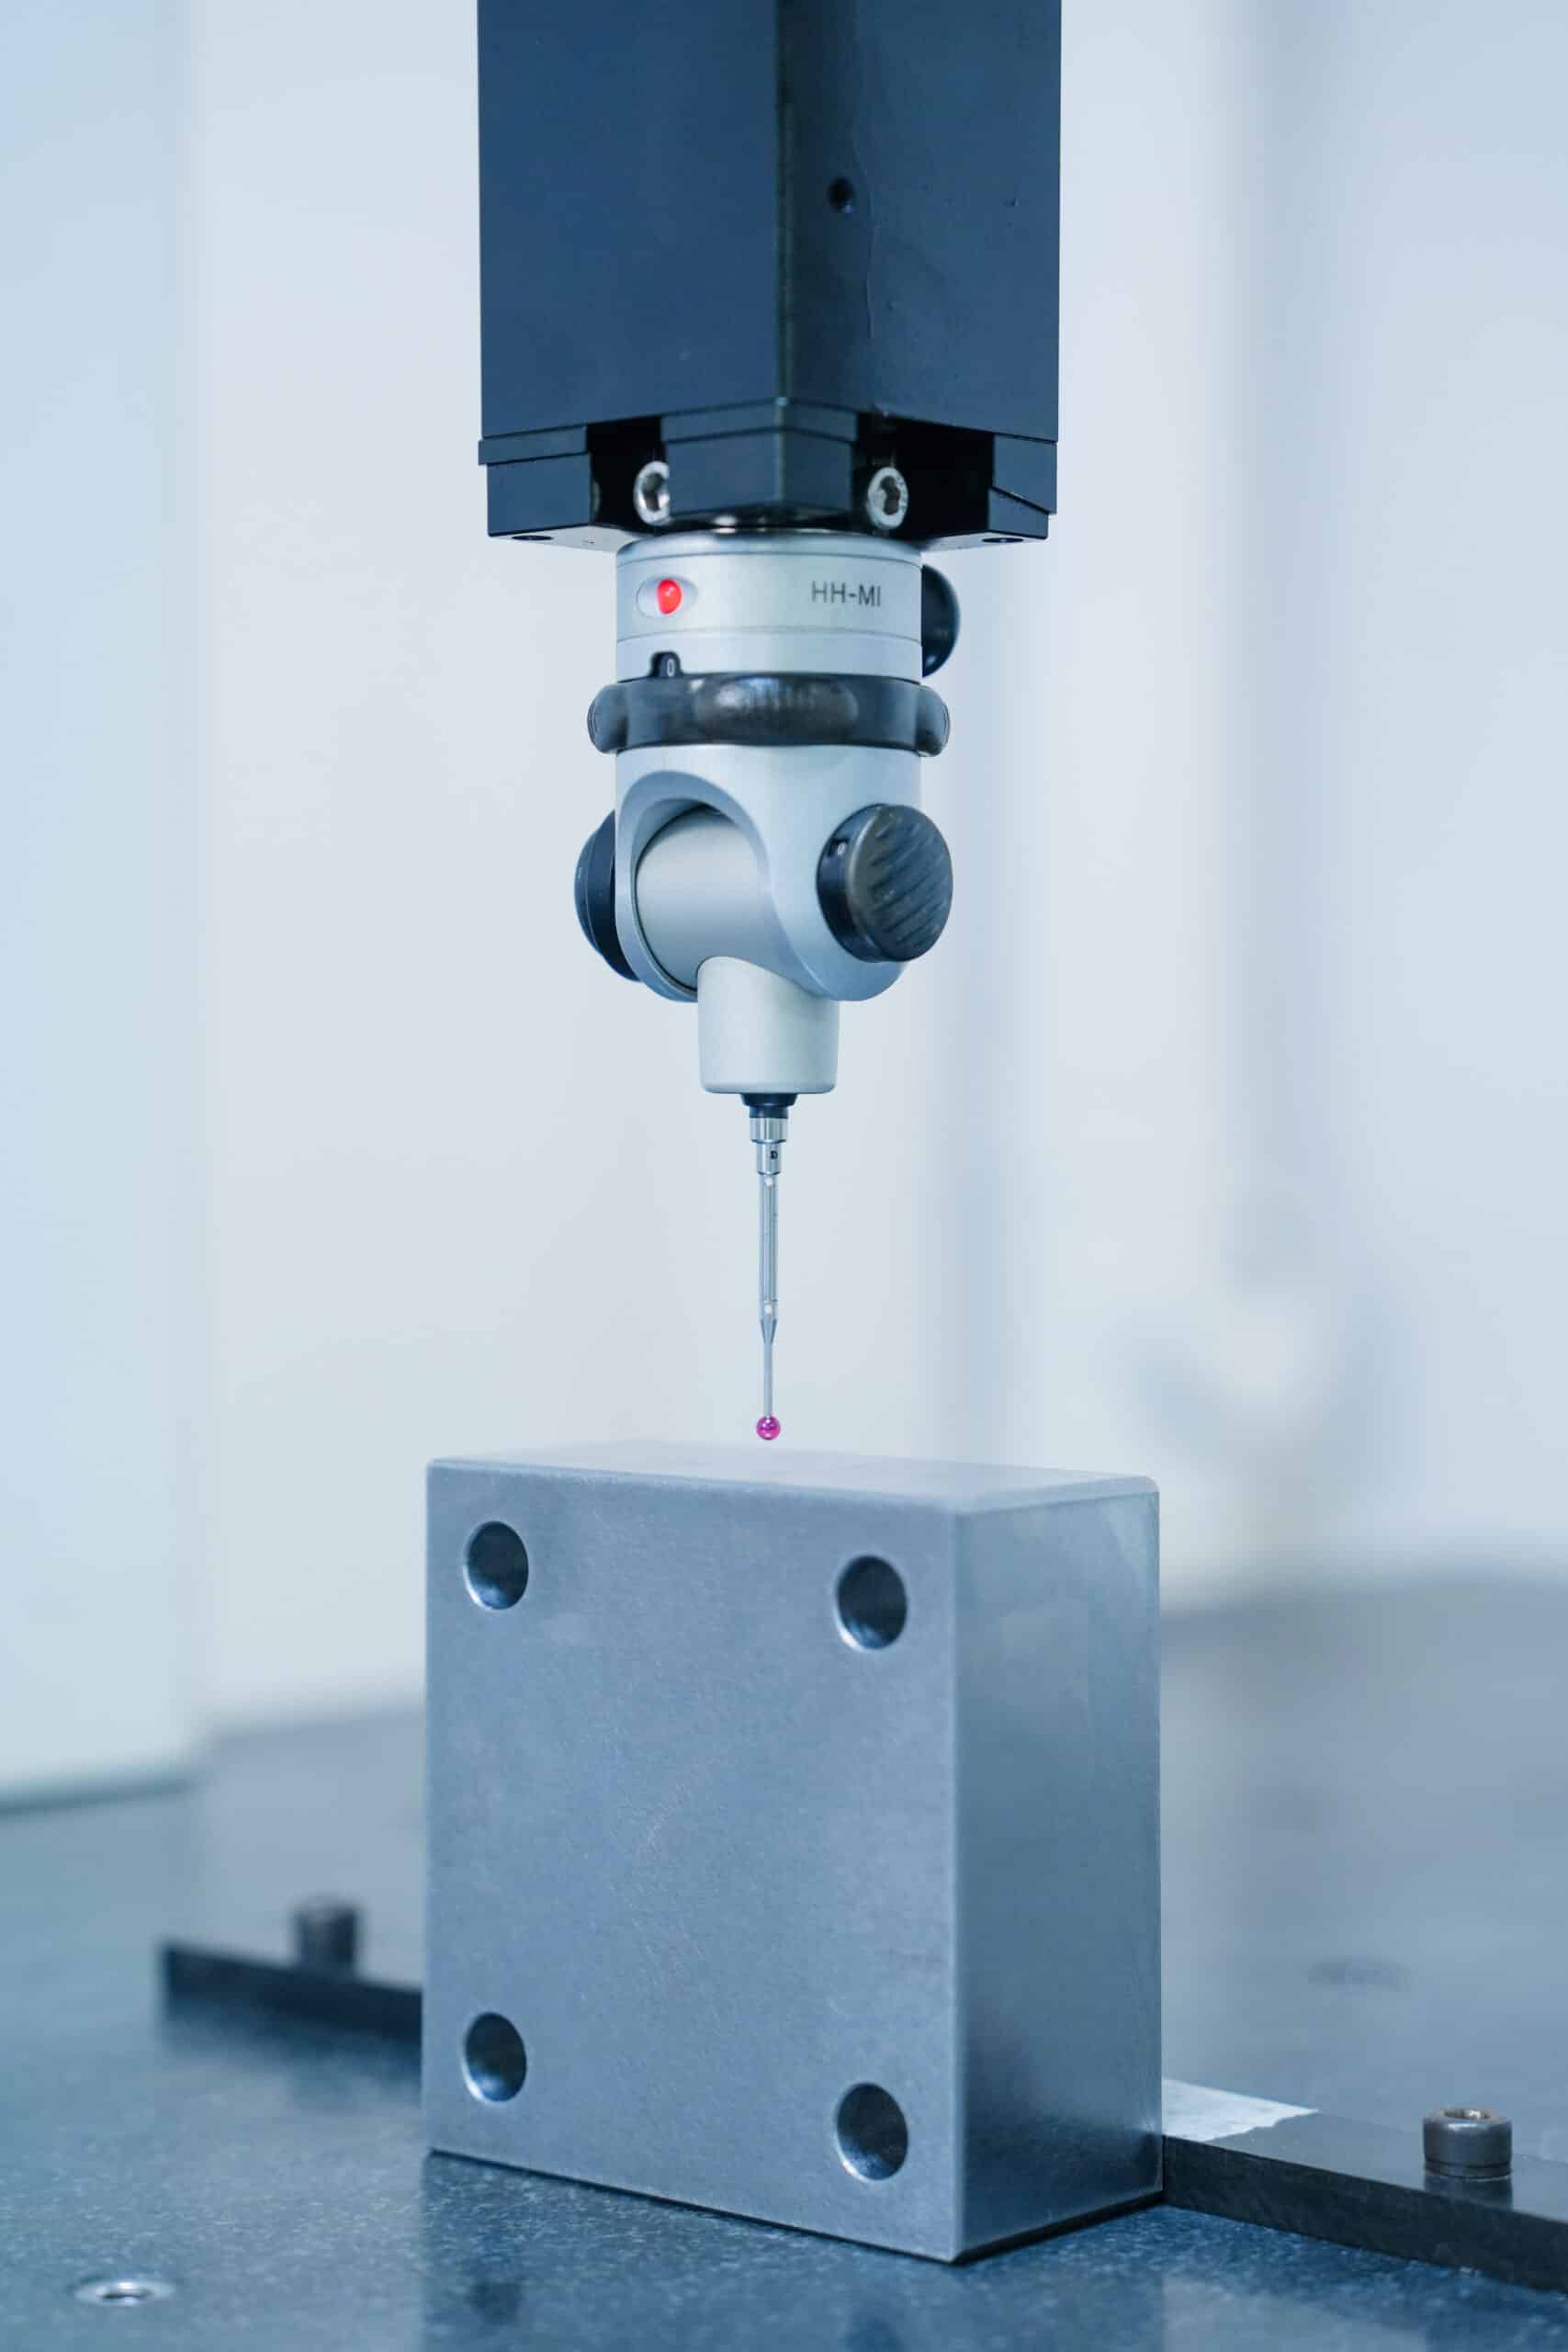
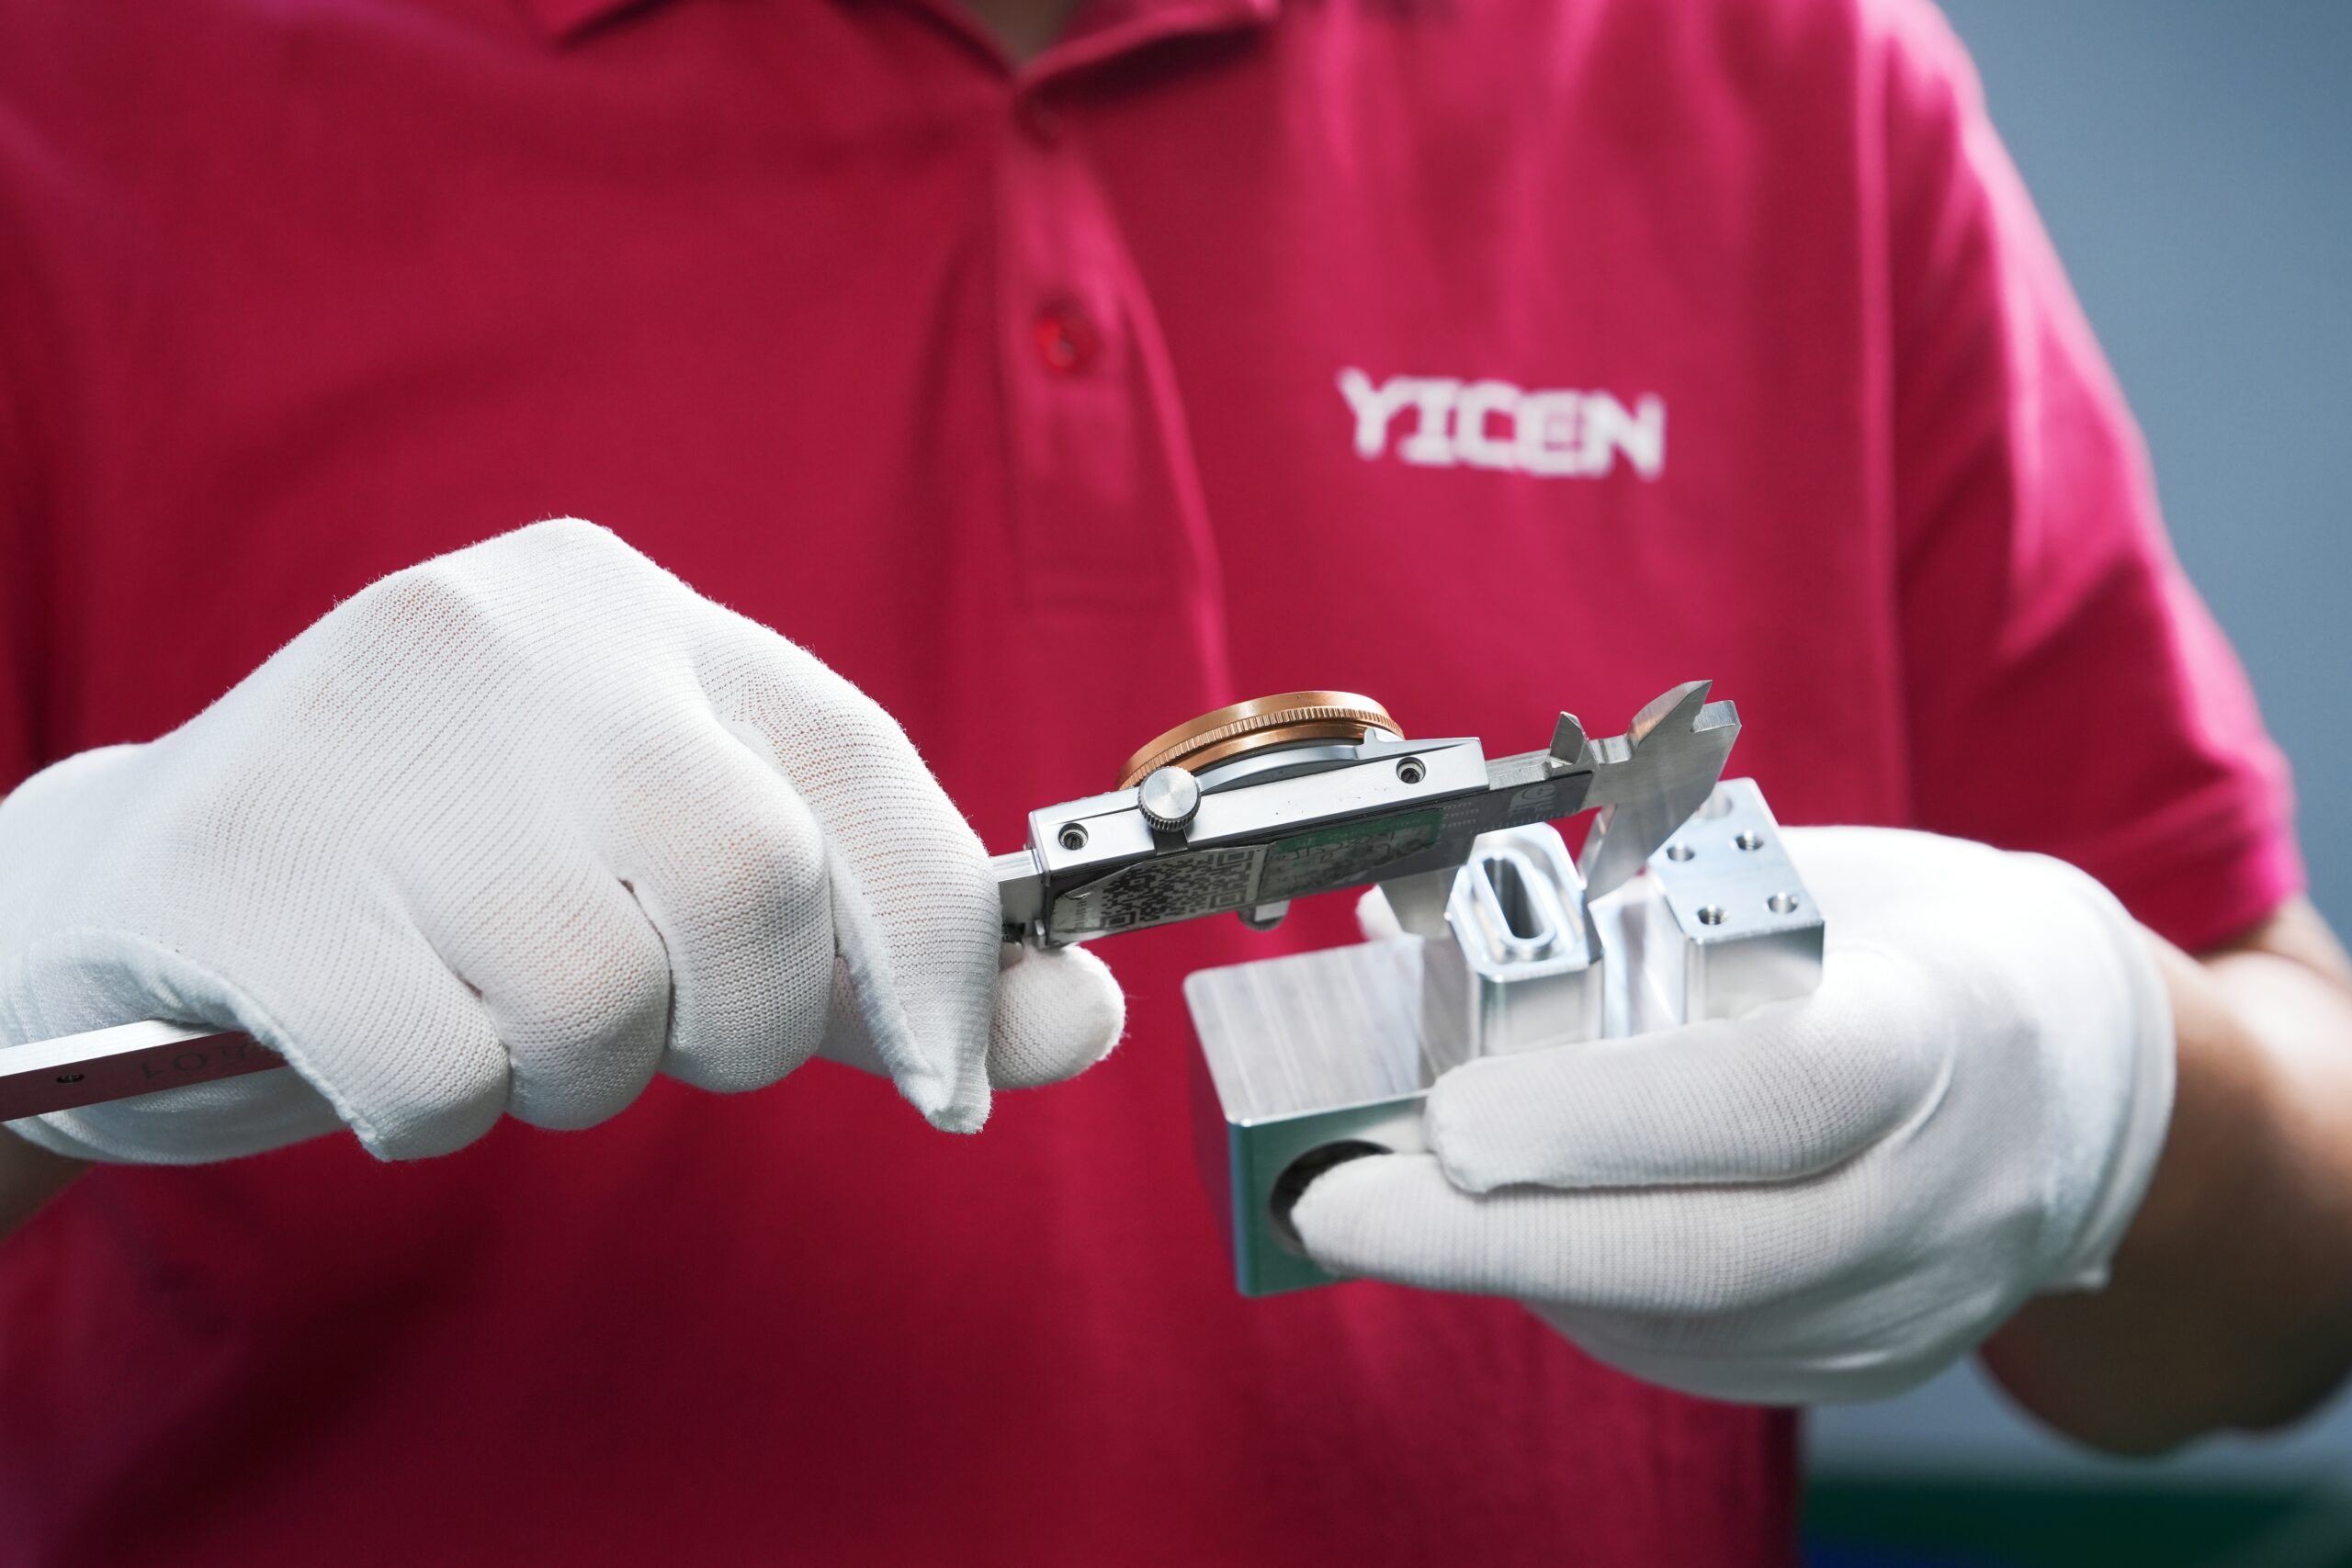
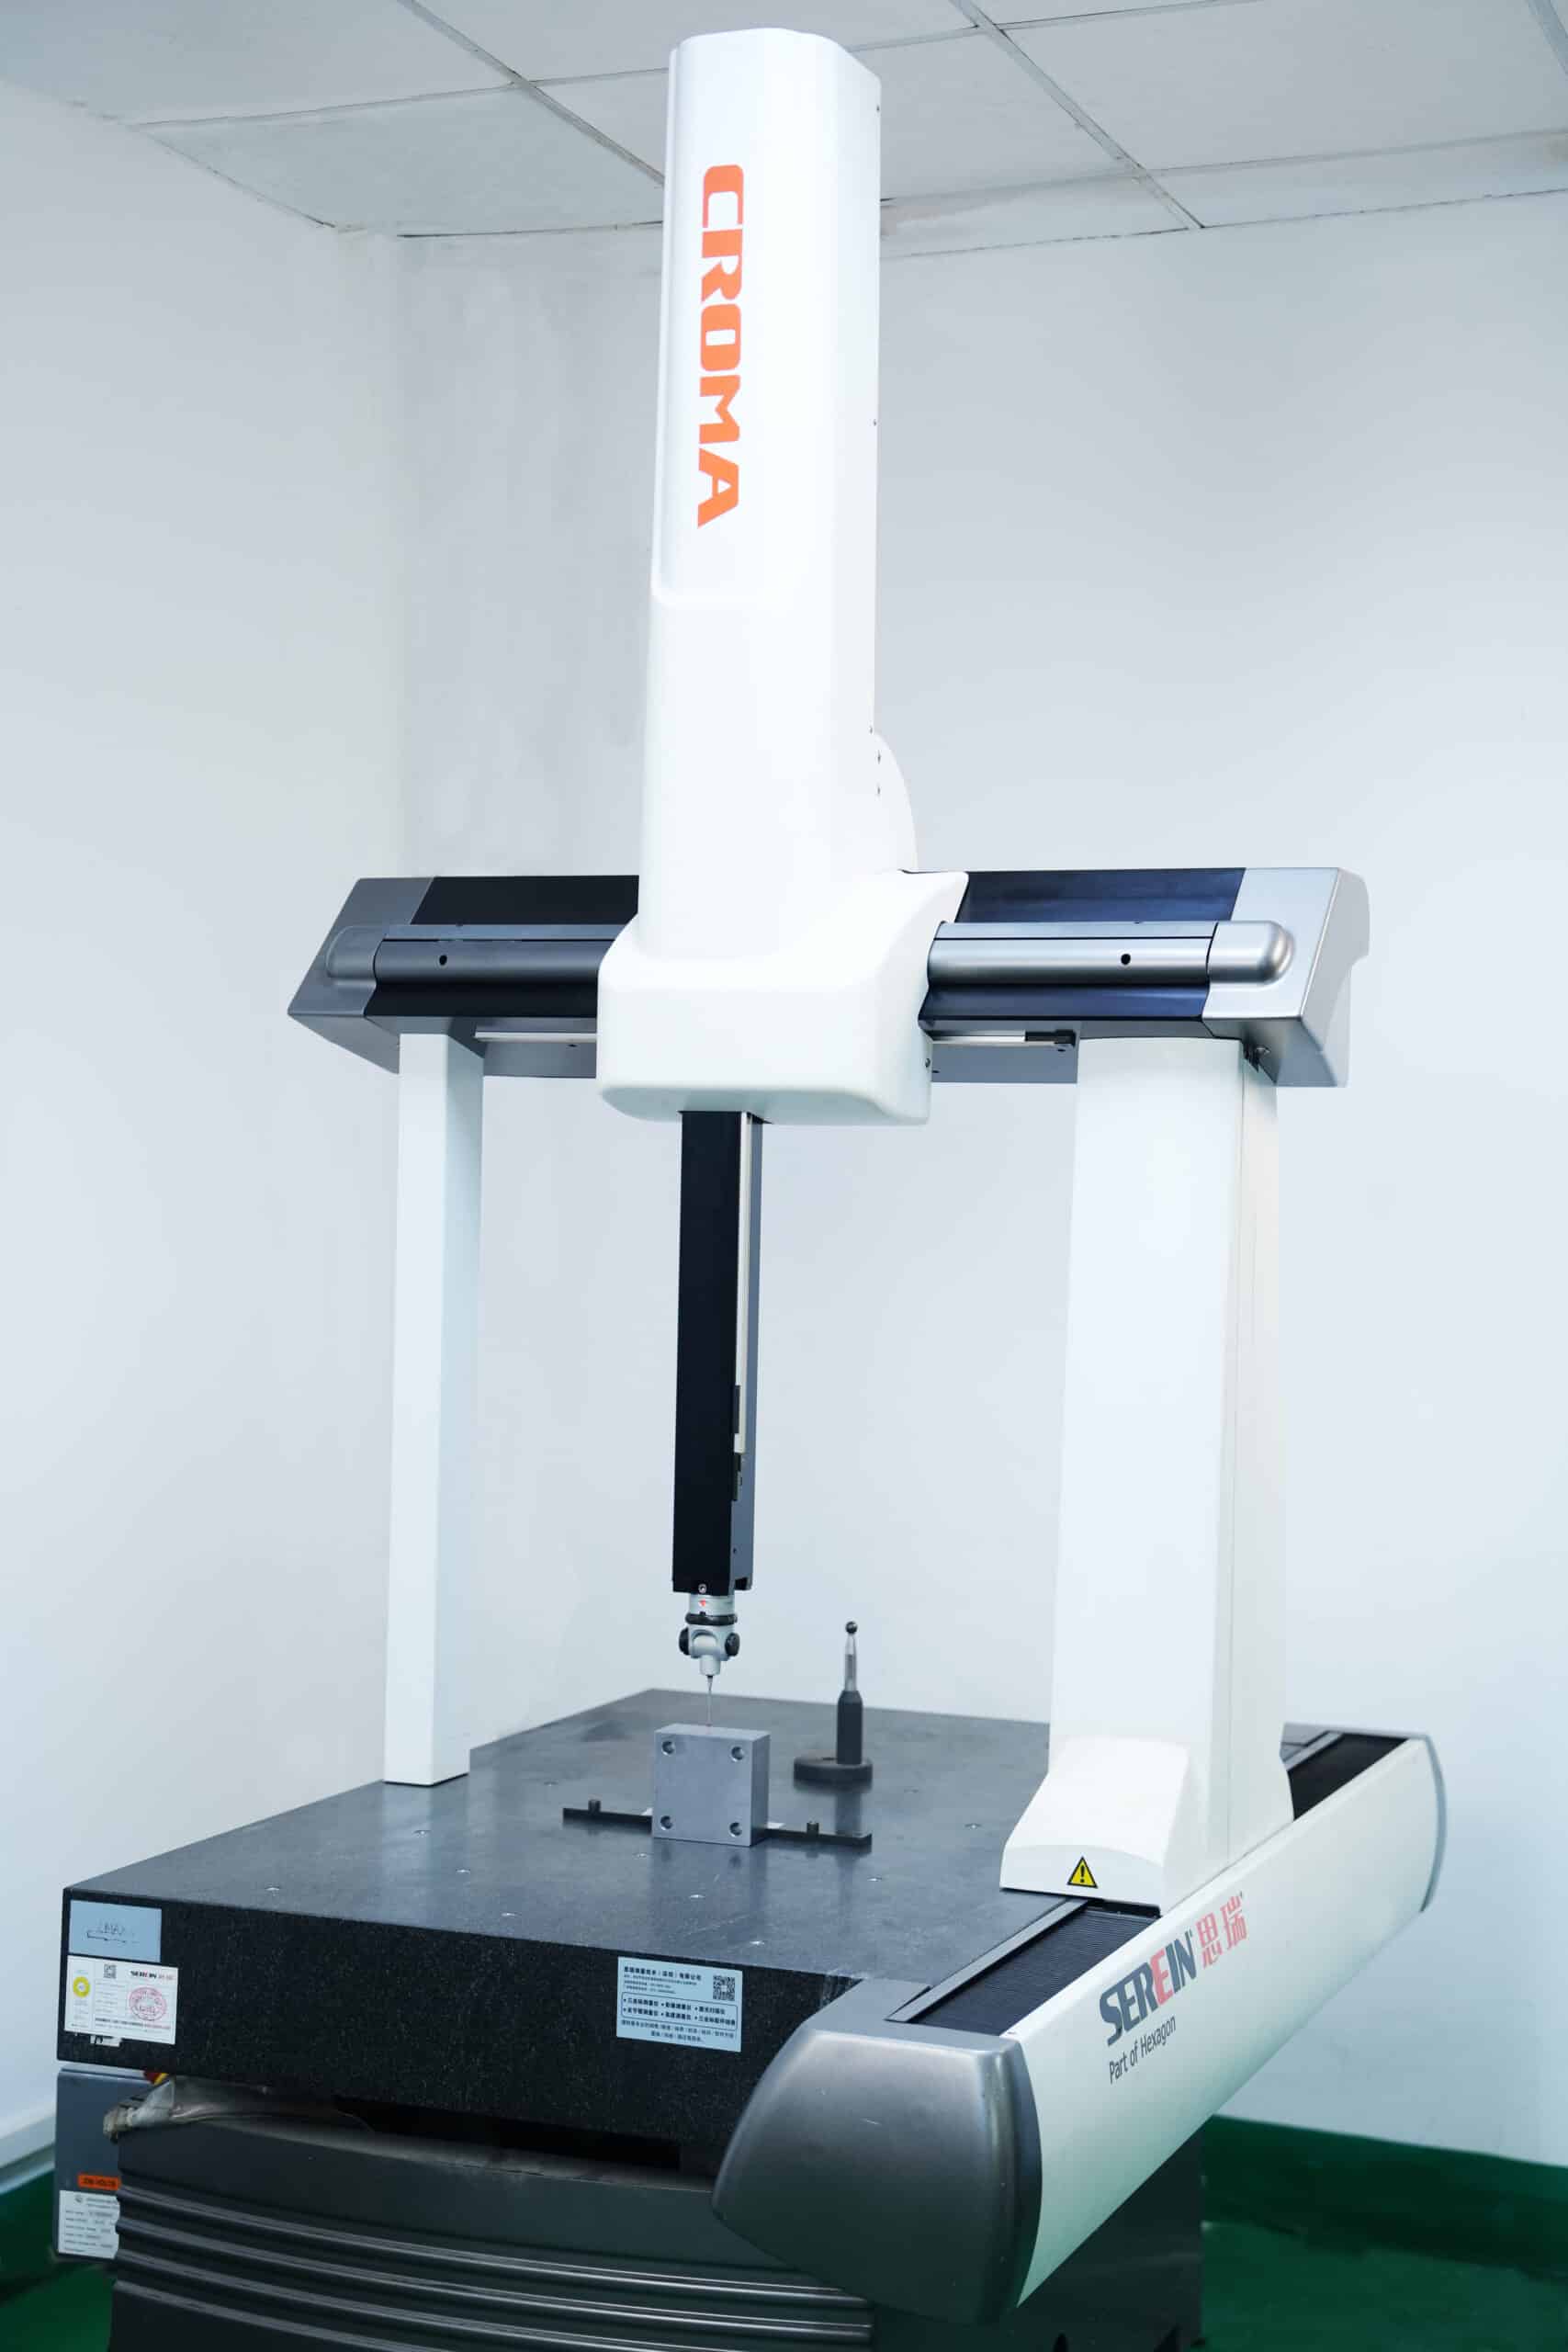
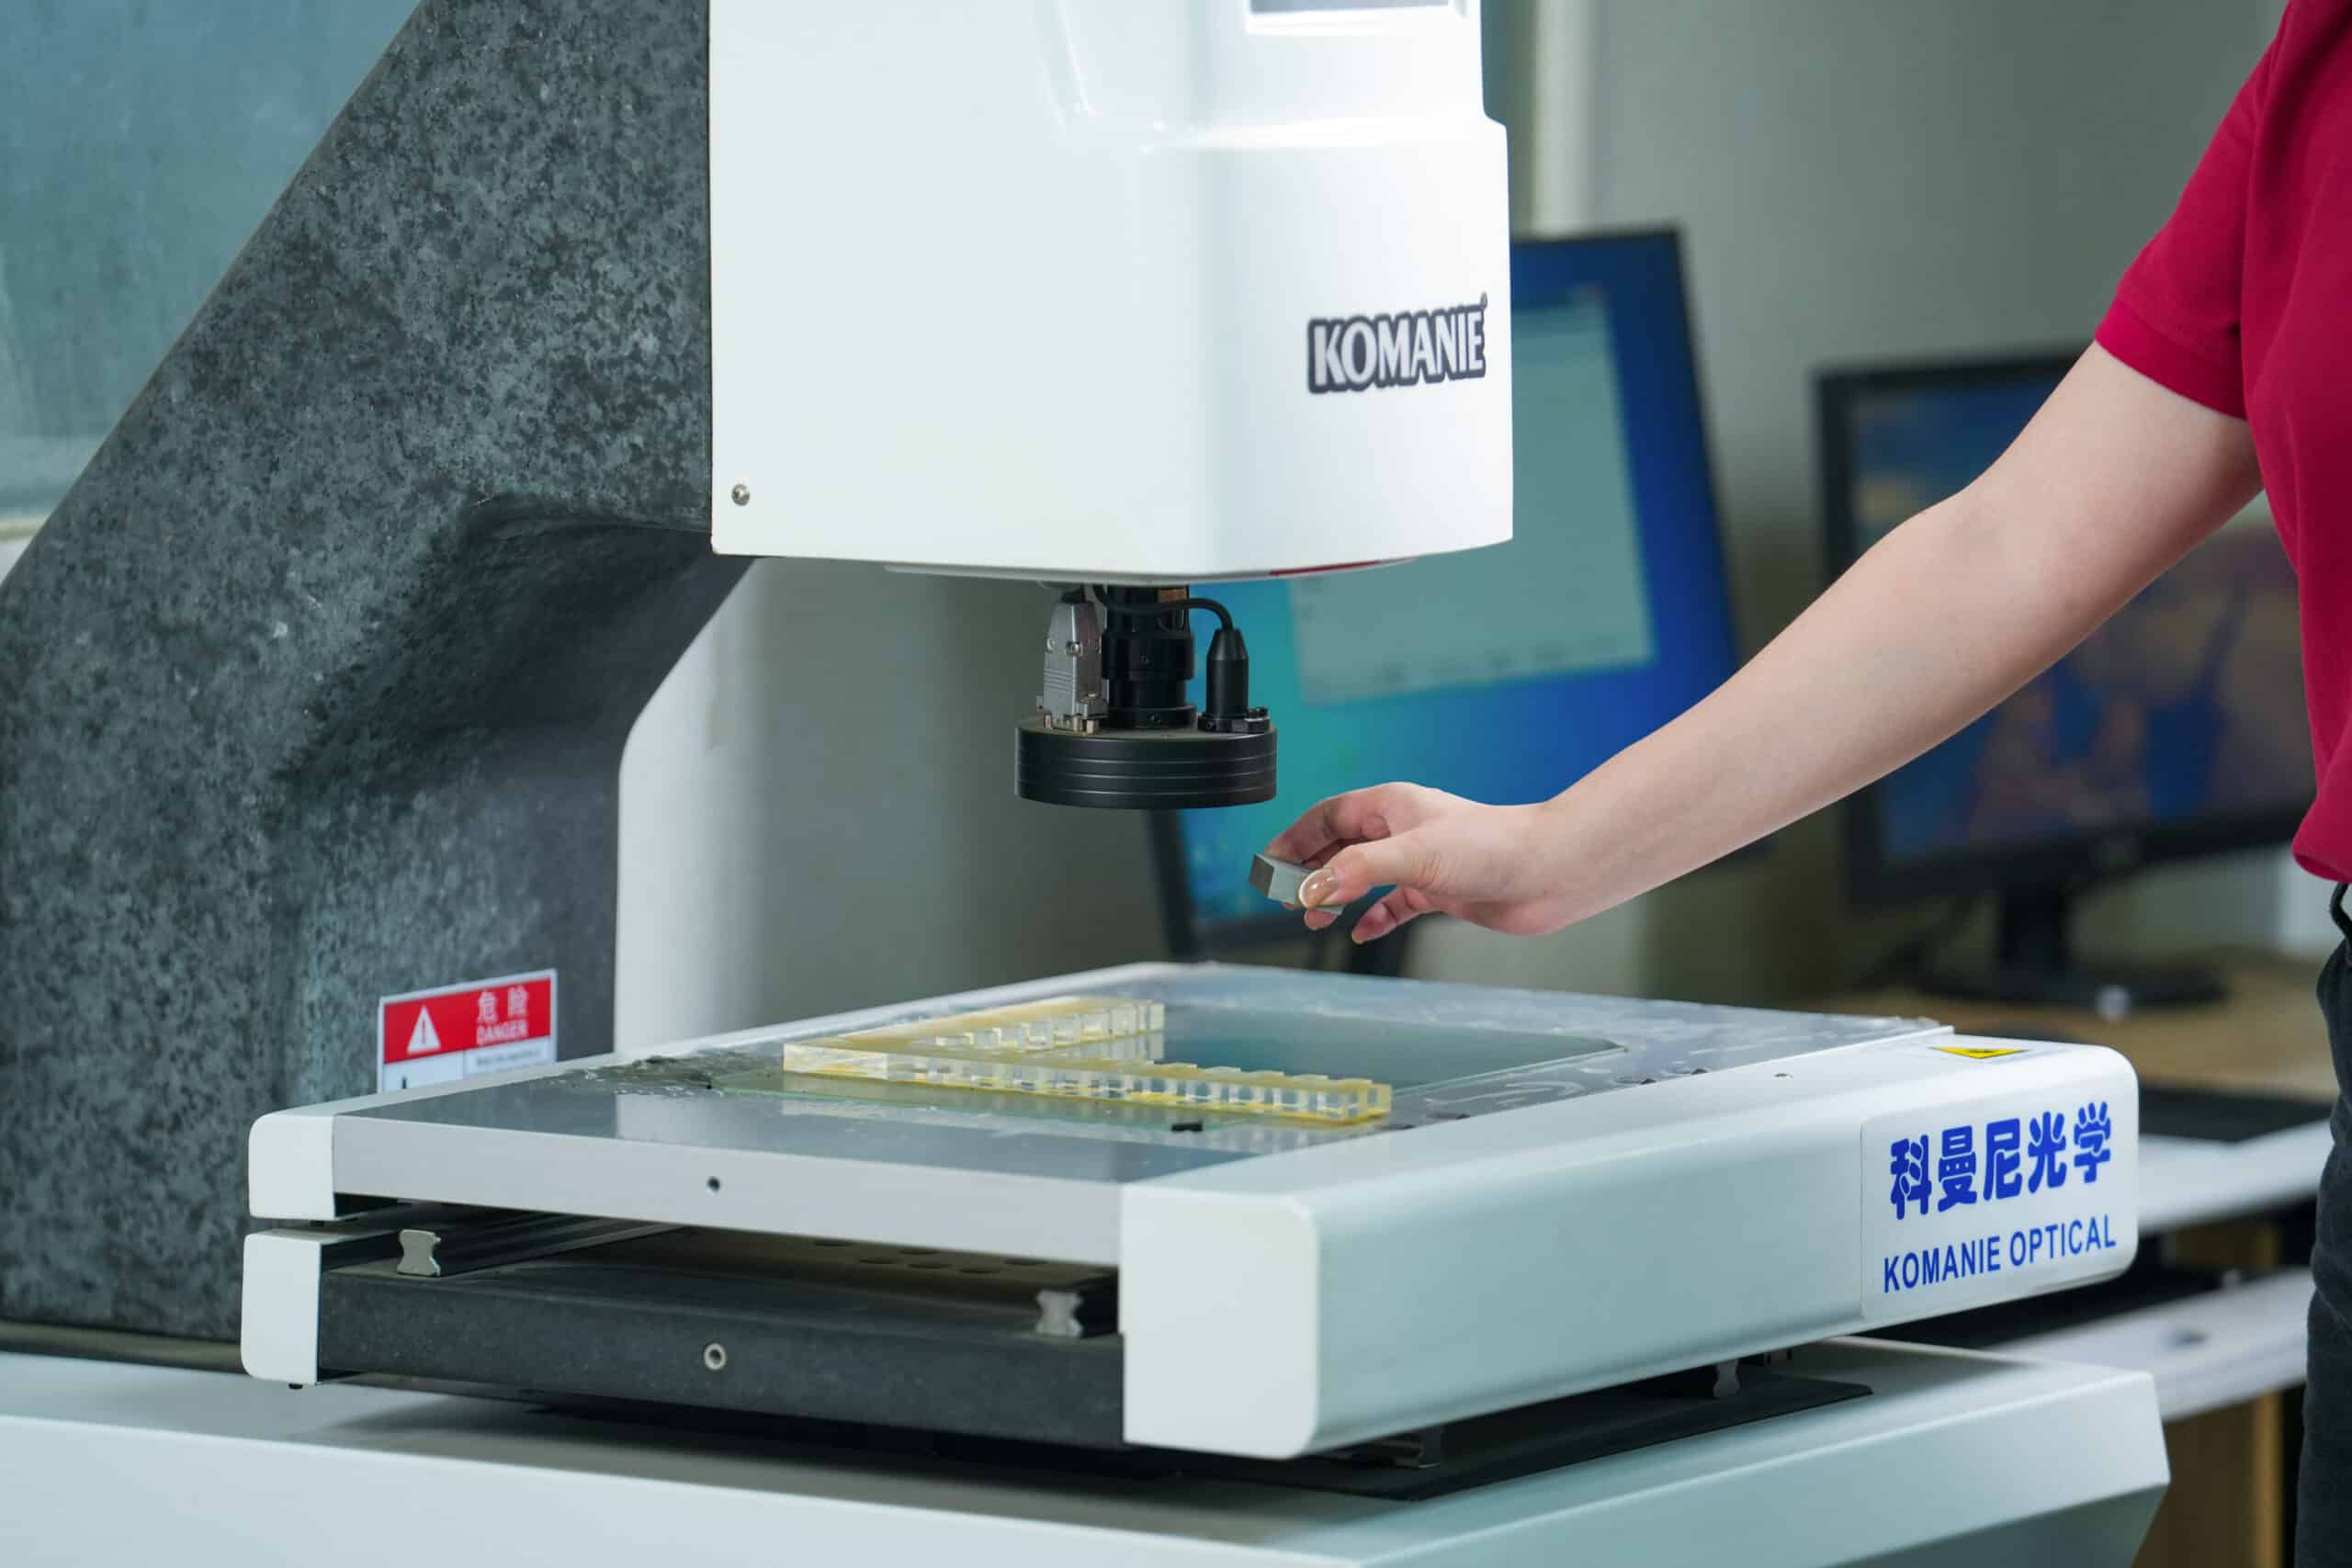
Once the cutting is complete, the part is carefully removed and cleaned. Skilled technicians perform a detailed dimensional inspection, often measuring tolerances as tight as ±0.002 mm. If needed, secondary passes or micro-finishing are applied to achieve the exact specifications and surface quality.
What Are The Challenges in Wire Cutting and How We Solve Them?
Wire cutting offers incredible precision, but like any advanced manufacturing process, it comes with its own set of challenges. At Yicen Precision, we’ve spent years perfecting our methods to overcome these issues, ensuring every component meets the highest standards.
Here’s a closer look at the common challenges and how we solve them.
Wire Breakage During Long Cuts
Challenge: Fine wires, especially those just 0.1–0.25 mm thick, can snap when cutting hard or thick metals. This not only interrupts production but also risks damaging the part.
Our Solution: We use optimized machine settings for tension, voltage, and feed rate, combined with premium wire materials. This has reduced breakage rates by over 30%, saving both time and material.
Heat Impact on Material Structure
Challenge: Excessive heat during the cutting process can alter the microstructure of certain alloys, potentially weakening the part or affecting its precision fit.
Our Solution: Our machines use short, controlled electrical pulses and advanced cooling systems to keep heat generation to a minimum. This maintains the original material properties and eliminates the risk of heat distortion.
Debris Build-Up in the Cutting Gap
Challenge: During cutting, tiny metal particles (swarf) can accumulate in the gap between the wire and the workpiece, reducing accuracy and slowing down the process.
Our Solution: We employ multi-directional high-pressure flushing to clear debris continuously. It ensures a clean cutting path and maintains tolerance consistency throughout the job.
Maintaining Ultra-Tight Tolerances
Challenge: When tolerances are as tight as ±0.002 mm, even small factors like material hardness variations or temperature changes can cause deviations.
Our Solution: Our CNC systems include adaptive control features that automatically adjust feed and discharge settings in real time. This allows us to hold tolerances with exceptional repeatability, even on complex shapes.
Complex Geometry and Long Cycle Times
Challenge: Intricate profiles or deep internal cuts can take longer, increasing production costs and delivery time.
Our Solution: We use multi-pass cutting techniques, a roughing pass for speed followed by fine passes for accuracy and finish. This approach improves surface quality while reducing overall machining time by up to 20%.