The Real Goal of a Prototype
A prototype exists to answer questions, not to be a small version of the production part. Each prototype iteration should answer one or two specific questions: Does it fit? Does it function? Does it survive thermal cycling? Does the user find it intuitive? The cheapest prototype that answers the question is the right prototype.
This framing changes how you choose between processes. 3D printing answers fit and visual questions for $15–$80 per part in 1–3 days. Rapid CNC machining answers function and material questions for $80–$400 per part in 5–10 days. Production tooling answers cost-at-volume questions but takes weeks and tens of thousands of dollars to set up.
Three Stages of Manufacturing Maturity
Stage 1: Rapid Prototyping (Quantity 1–25)
You are still asking “does this work?” Process choice should optimize for speed and cost per iteration, not unit cost at scale. FDM printing for visual mockups, SLA printing for fit checks, SLS or MJF for functional plastic parts, and CNC machining for any prototype that needs to survive real-world testing.
Stage 2: Bridge Production (Quantity 25–500)
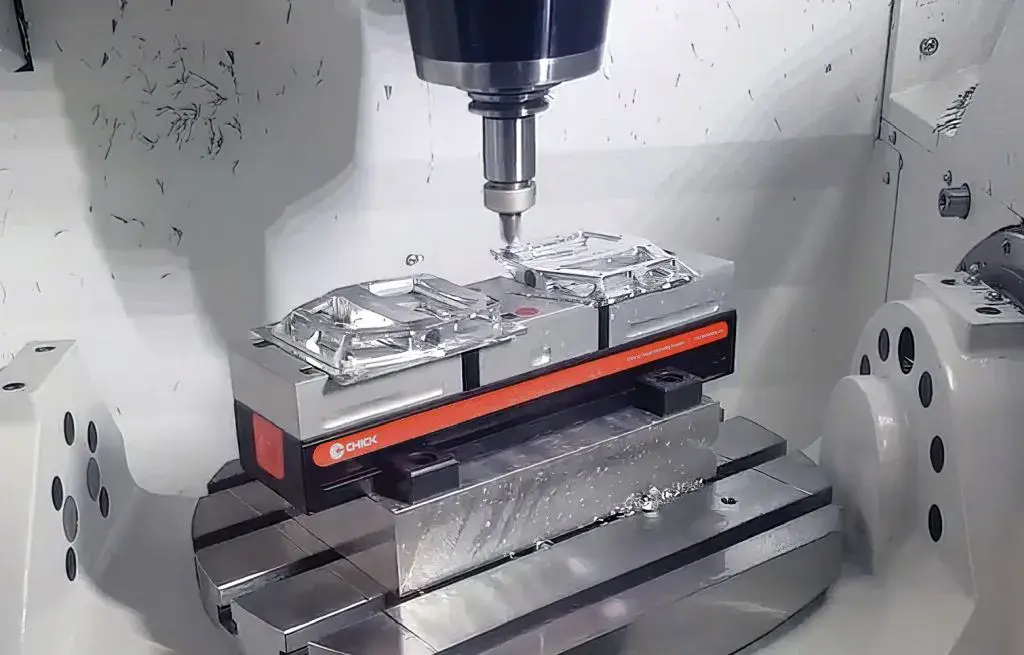
You have answered the design questions and need parts to ship to early customers, beta testers, or pilot programs. Cost per part matters now, but you cannot afford to wait 8–12 weeks for production tooling. CNC machining at moderate volume, with reusable fixtures, dominates this stage.
Stage 3: Production (Quantity 500+)
You have a stable design, a forecast you trust, and you need parts in volume month after month. Now the math changes — investing in tooling, near-net-shape blanks, or dedicated fixtures pays back. Per-unit cost is the priority, even if up-front cost is higher.
Cost Crossover: When to Move from Prototyping to Production Methods
Every part has a crossover quantity where the cheaper-per-unit production method beats the cheaper-up-front prototyping method. Knowing roughly where that crossover sits prevents two common mistakes: paying prototype prices for production volume, and investing in tooling before the design is stable.
| Process Comparison | Crossover Quantity | Why |
| SLA print → CNC machined plastic | 8–25 pieces | CNC setup amortizes; print cost is per-part |
| CNC machined → injection molded | 500–5,000 pieces | Tooling cost dominates below 500 |
| CNC machined → die cast | 1,000–10,000 pieces | Tooling investment higher than injection mold |
| CNC turning → cold heading | 50,000+ pieces | Cold heading tooling is cheap but volume must justify |
| 3-axis CNC → 3-axis with fixtures | 50–200 pieces | Custom fixtures reduce setup, win at volume |
These crossovers shift based on part complexity, material, and tolerance. The numbers above are typical for medium-complexity parts. Always run the math on your specific case.
Quality Differences: Prototype vs Production Parts
Engineers often assume a prototype is identical to a production part. It usually is not — and the differences can hide design flaws that don’t surface until volume production starts.
Where Prototypes Differ from Production
- Surface finish. Prototype parts often skip secondary finishing operations. Production parts include the final powder coat, anodize, or polish.
- Material lot consistency. Prototypes come from whatever stock is on hand. Production runs use traceable lots with material certs.
- Inspection rigor. Prototypes get a quick check. Production runs get full FAI reports and statistical process control.
- Tooling effects. Production injection-molded parts behave differently than CNC-machined “prototypes” of the same shape — different mechanical properties, different shrink behavior.
- Tolerance distribution. CNC prototypes hit the center of the tolerance band. Cast or molded production parts have wider distributions.
Smart prototyping accounts for these differences. The best practice is to validate the design with at least one batch using the production process before locking specifications.
When to Use Each Prototyping Method
FDM (Fused Deposition Modeling)
Cheapest, fastest, and best for visual mockups, fit checks, and early-stage iteration. Material strength is moderate; surface finish is layered. Use FDM when you need to hold a part in your hand by tomorrow.
SLA (Stereolithography)
SLA prints deliver smooth surfaces and fine feature resolution. They are excellent for visual prototypes, master patterns for vacuum casting, and dental or jewelry models. SLA parts are brittle and degrade in UV light — never use them for functional outdoor testing.
SLS / MJF (Powder-Based Plastic Printing)
SLS and MJF produce strong, isotropic plastic parts. They handle living hinges, complex internal channels, and snap-fits. They are the right choice for functional plastic prototypes that need to survive real testing.
Metal 3D Printing (DMLS / SLM)
Metal 3D printing produces production-grade metal parts in titanium, stainless, aluminum, and Inconel. Use it for low-volume aerospace components, complex medical implants, and any geometry that cannot be machined.
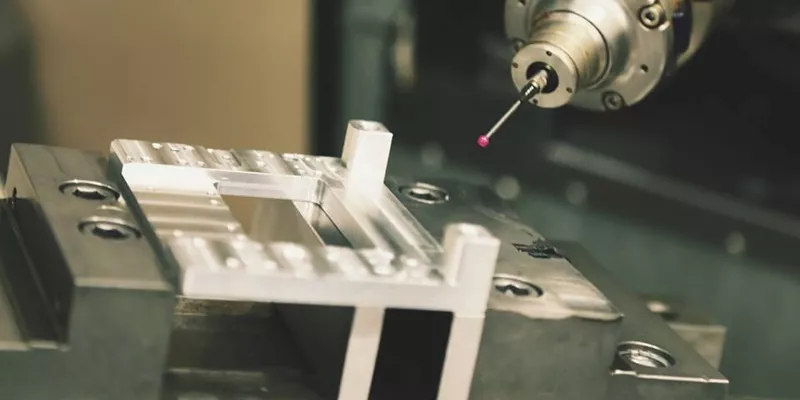
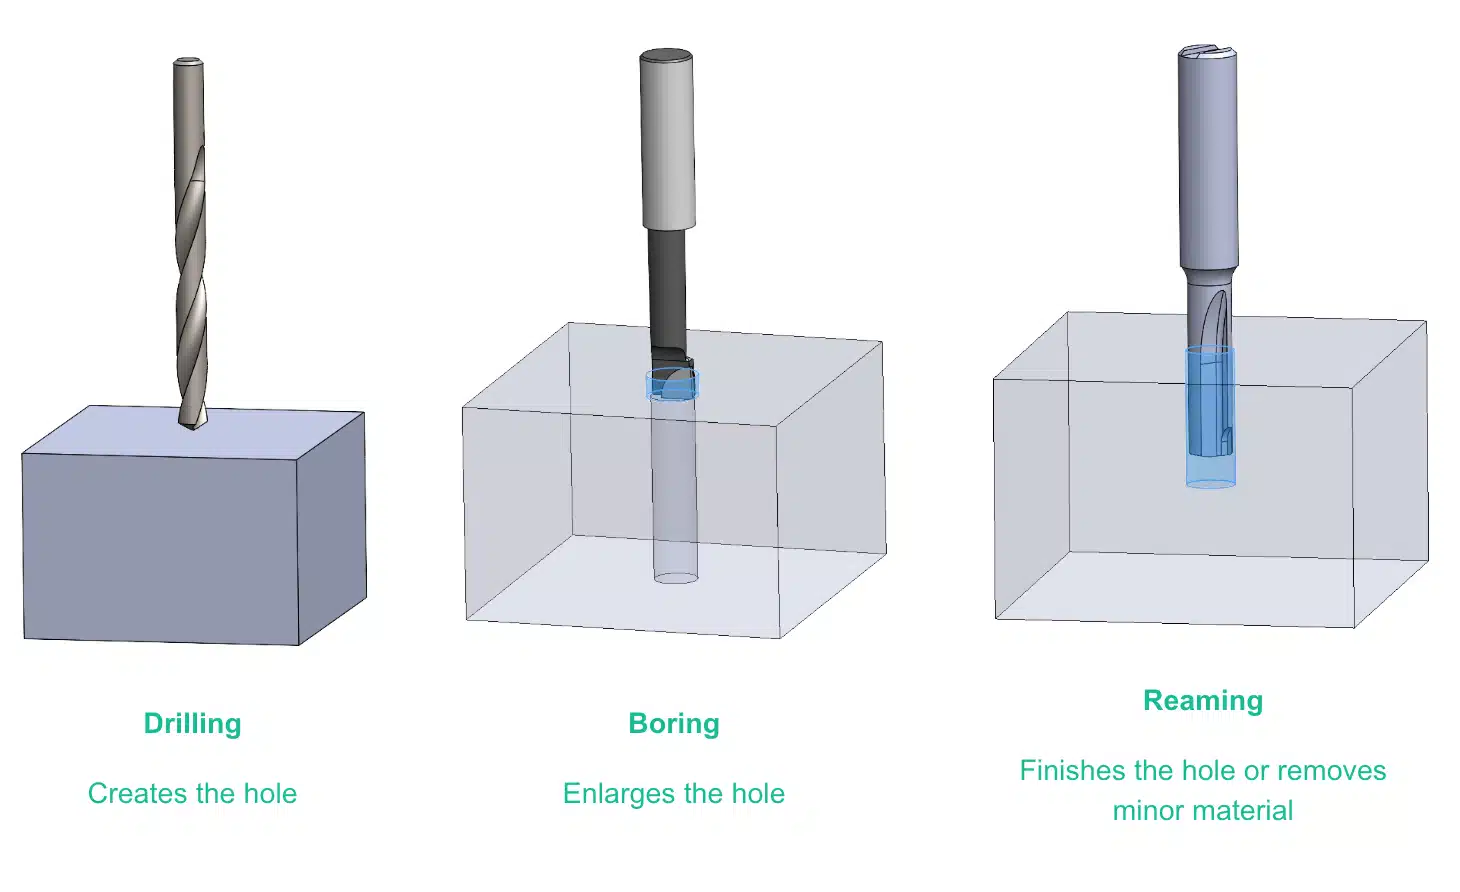
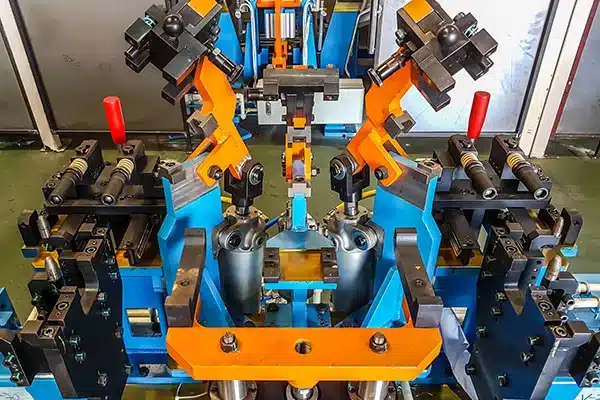
Rapid CNC Machining
CNC machined prototypes use the same materials and tolerances as production parts, just on a faster turnaround. Use rapid CNC when material properties matter, when tolerance specs are tight, or when the prototype must survive real-world conditions identical to production.
When to Stop Prototyping and Move to Production
The signal to move out of prototyping is design stability — usually combined with demand visibility. If you have iterated three times without changing a critical dimension, your design is probably stable. If you have an order or forecast that justifies the production setup cost, the math is on your side.
Signs You Are Ready for Production
- No critical dimension has changed in the last 2 prototype rounds
- You have validated function, fit, and finish in real-world conditions
- You have a customer order, contract, or forecast above the crossover quantity
- You have an inspection plan and acceptance criteria documented
- Material and surface finish specs are locked
Signs You Are Not Ready
- Last prototype showed a problem you have not yet solved
- Volume forecast could be off by 5x or more
- The end customer is still asking for design changes
- You are not sure which material will be the final spec
A Practical Roadmap: Prototype to Production in 12 Weeks
Weeks 1–3: Concept and Visual Prototypes
FDM or SLA prints. Two or three iterations to lock geometry and ergonomics. Cost: $200–$1,500 total.
Weeks 3–6: Functional Prototypes
Rapid CNC machining or SLS in production-equivalent material. Real testing — drop, thermal, vibration. Cost: $1,500–$8,000 depending on complexity.
Weeks 6–9: Bridge Production
Small CNC batch (50–200 pieces) for beta customers, certifications, regulatory submissions. Cost: $5,000–$30,000.
Weeks 9–12: Production Setup
Tooling, fixtures, or dedicated machine slots for ongoing volume. Custom jigs and fixtures to drive per-part cost down for the next 12+ months of production.
Frequently Asked Questions About Rapid Prototyping vs Production
How much faster is rapid prototyping than production machining?
Rapid prototyping typically runs 1–5 business days. Production CNC machining runs 5–15 business days for standard quantities. The speed difference comes from queue priority, simpler programming, and skipped finishing steps — not from a fundamentally different process.
Are 3D-printed prototypes good enough for production?
For most metal applications, no — 3D-printed parts have different mechanical properties than wrought or machined parts. For specific aerospace, medical, and complex internal-channel parts, yes — DMLS metal printing produces production-quality parts in volumes up to a few thousand units.
What is the cheapest way to prototype a metal part?
FDM-printed plastic stand-in for visual confirmation, then rapid CNC machining for the functional version in actual metal. The two-step approach typically costs less than two iterations of metal 3D printing.
When does CNC machining beat injection molding on cost?
For plastic parts, CNC wins below roughly 500 pieces. Injection molding tooling costs $5,000–$80,000 up front; CNC has zero tooling cost. The crossover depends on tooling cost and part complexity, but 500–5,000 pieces is the typical range. If you don’t offer injection molding, this question becomes academic — see the Wire EDM vs CNC comparison instead.
Should I use the same supplier for prototyping and production?
Yes, when the supplier handles both well. A single supplier means consistent material lots, consistent inspection methods, and accumulated knowledge about your design. Yicen Precision delivers rapid prototyping and full production manufacturing under one roof.
Move from Prototype to Production with Yicen Precision
Yicen Precision supports the entire journey from concept to production: 3D printing for visual prototypes, rapid CNC machining for functional iterations, and full production CNC services for ongoing volume. We typically deliver prototypes in 1–5 business days and production parts in 2–4 weeks. Send us a CAD file and our engineering team will recommend the right process for your stage of development, with transparent pricing at each volume break.